I’m now Unity3D Certified Programmer and a Unity Certified User too.
Categoria: Senza categoria
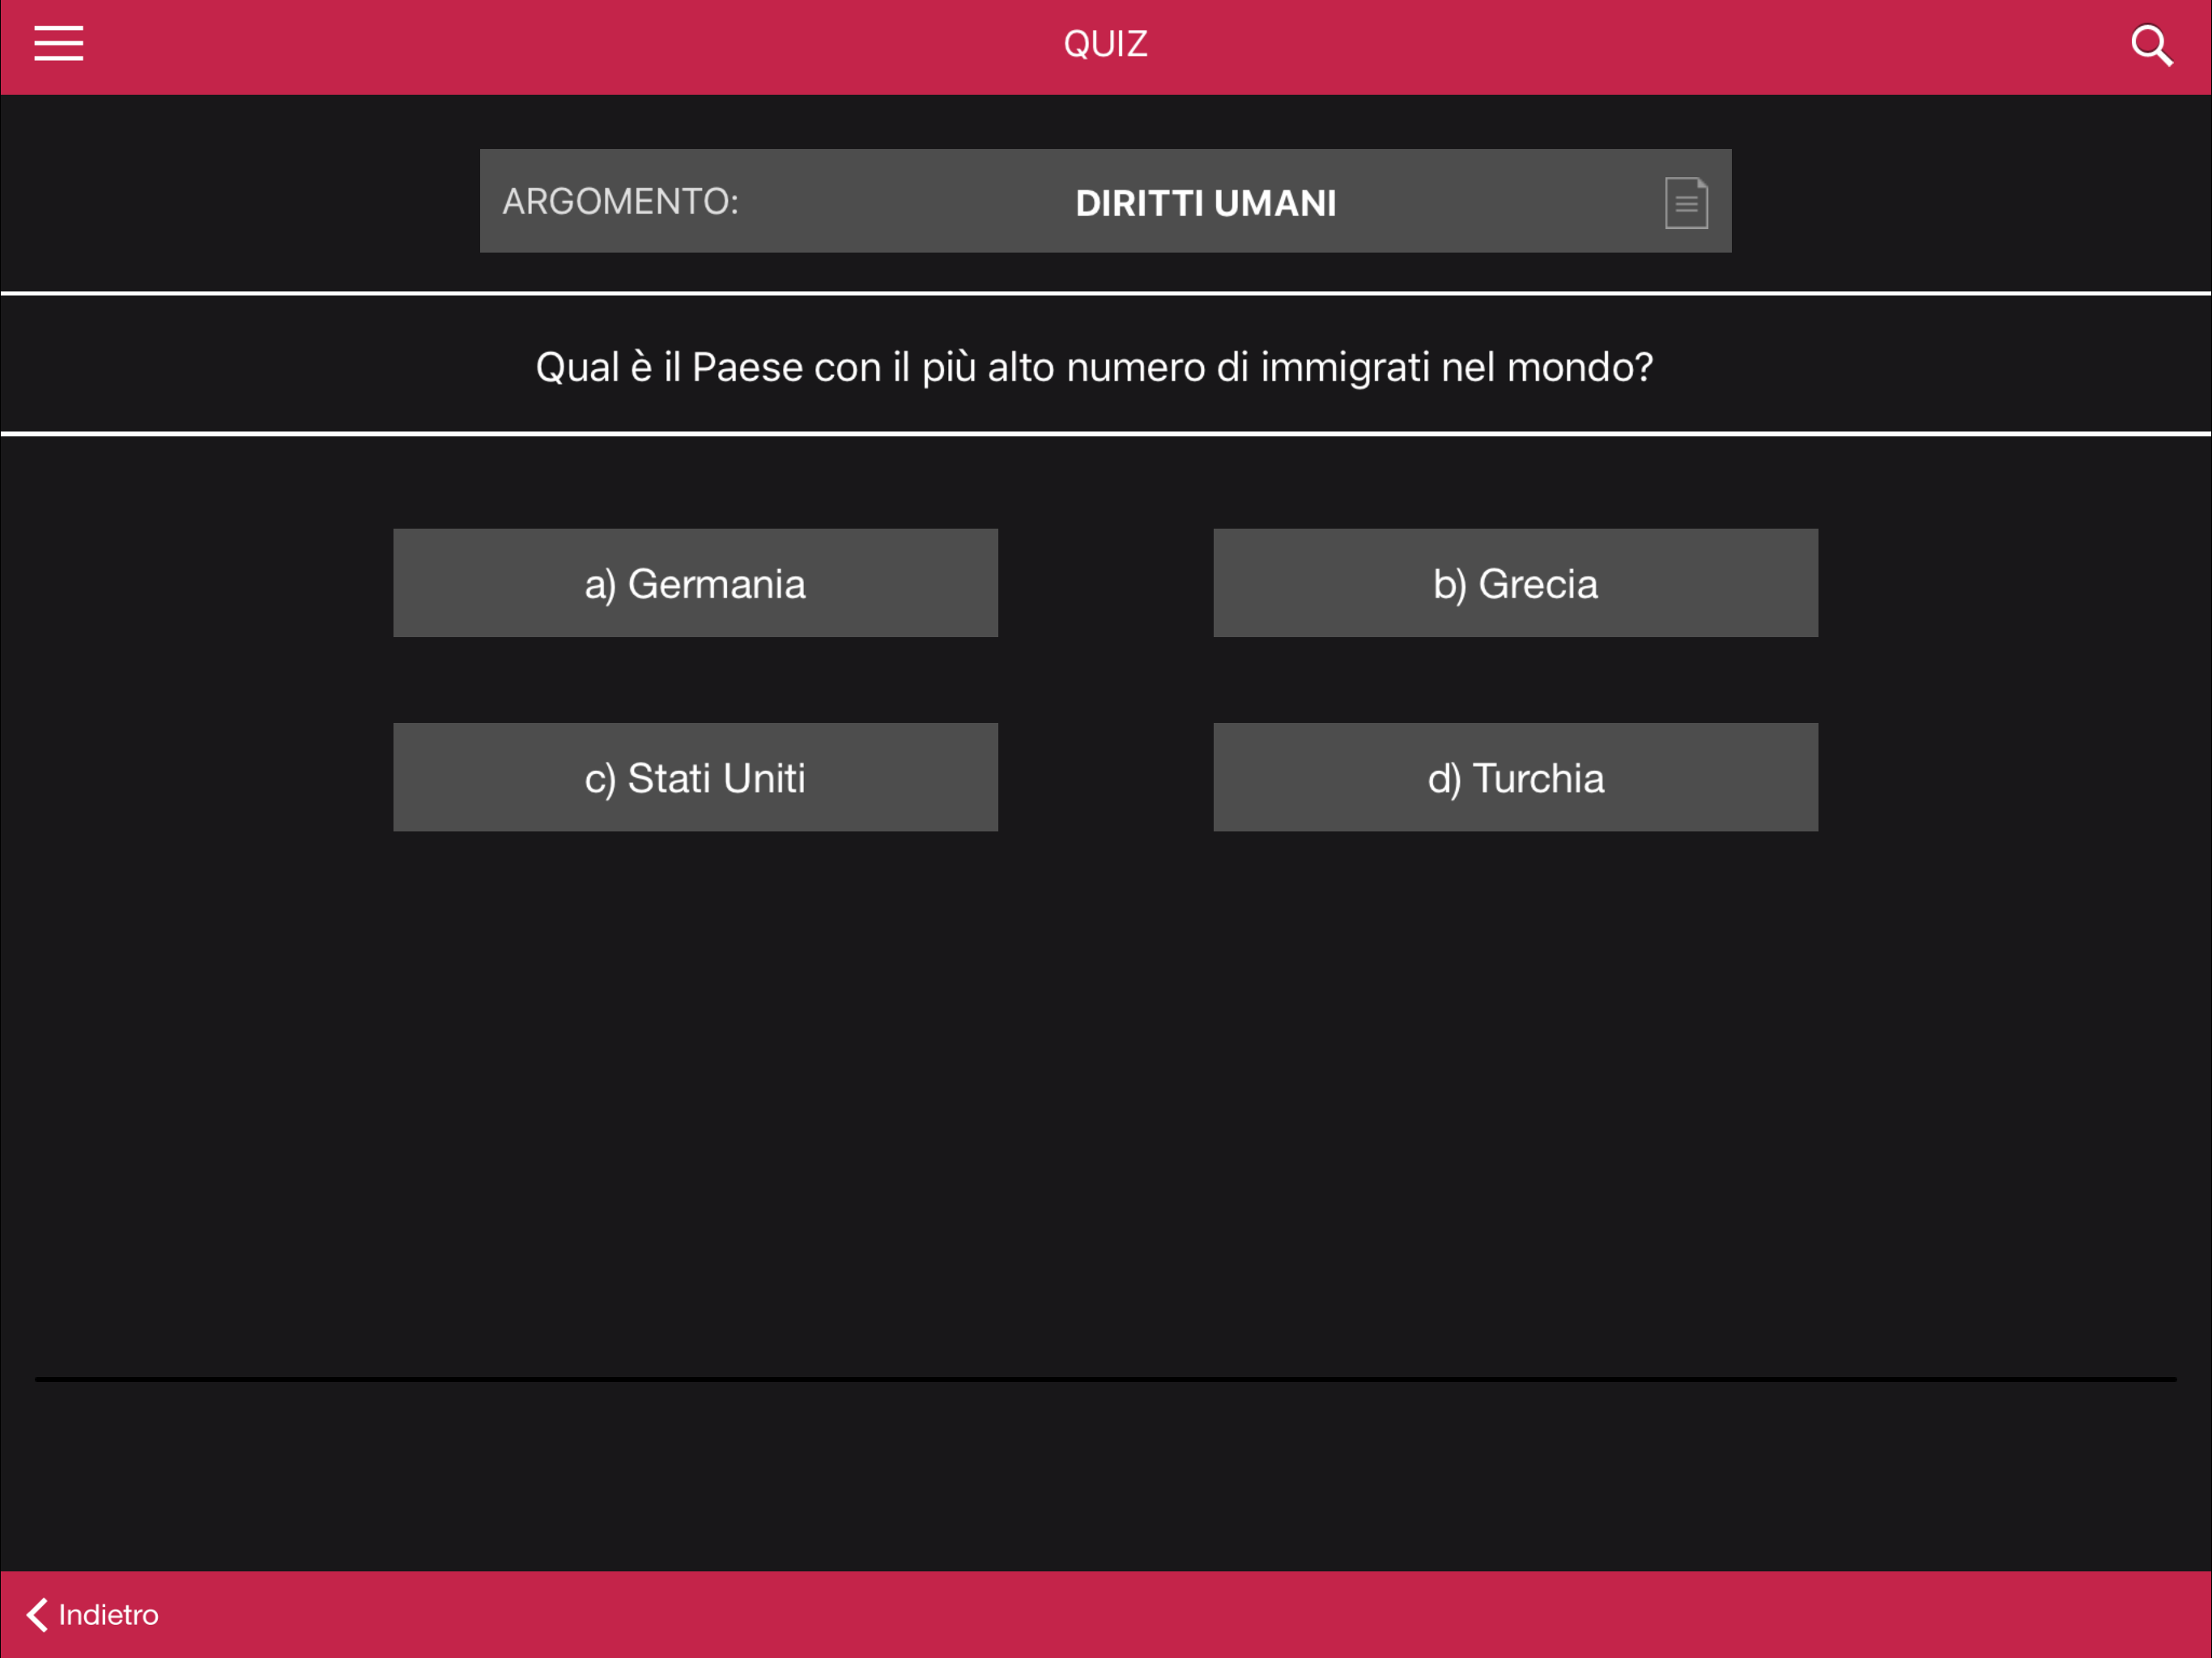
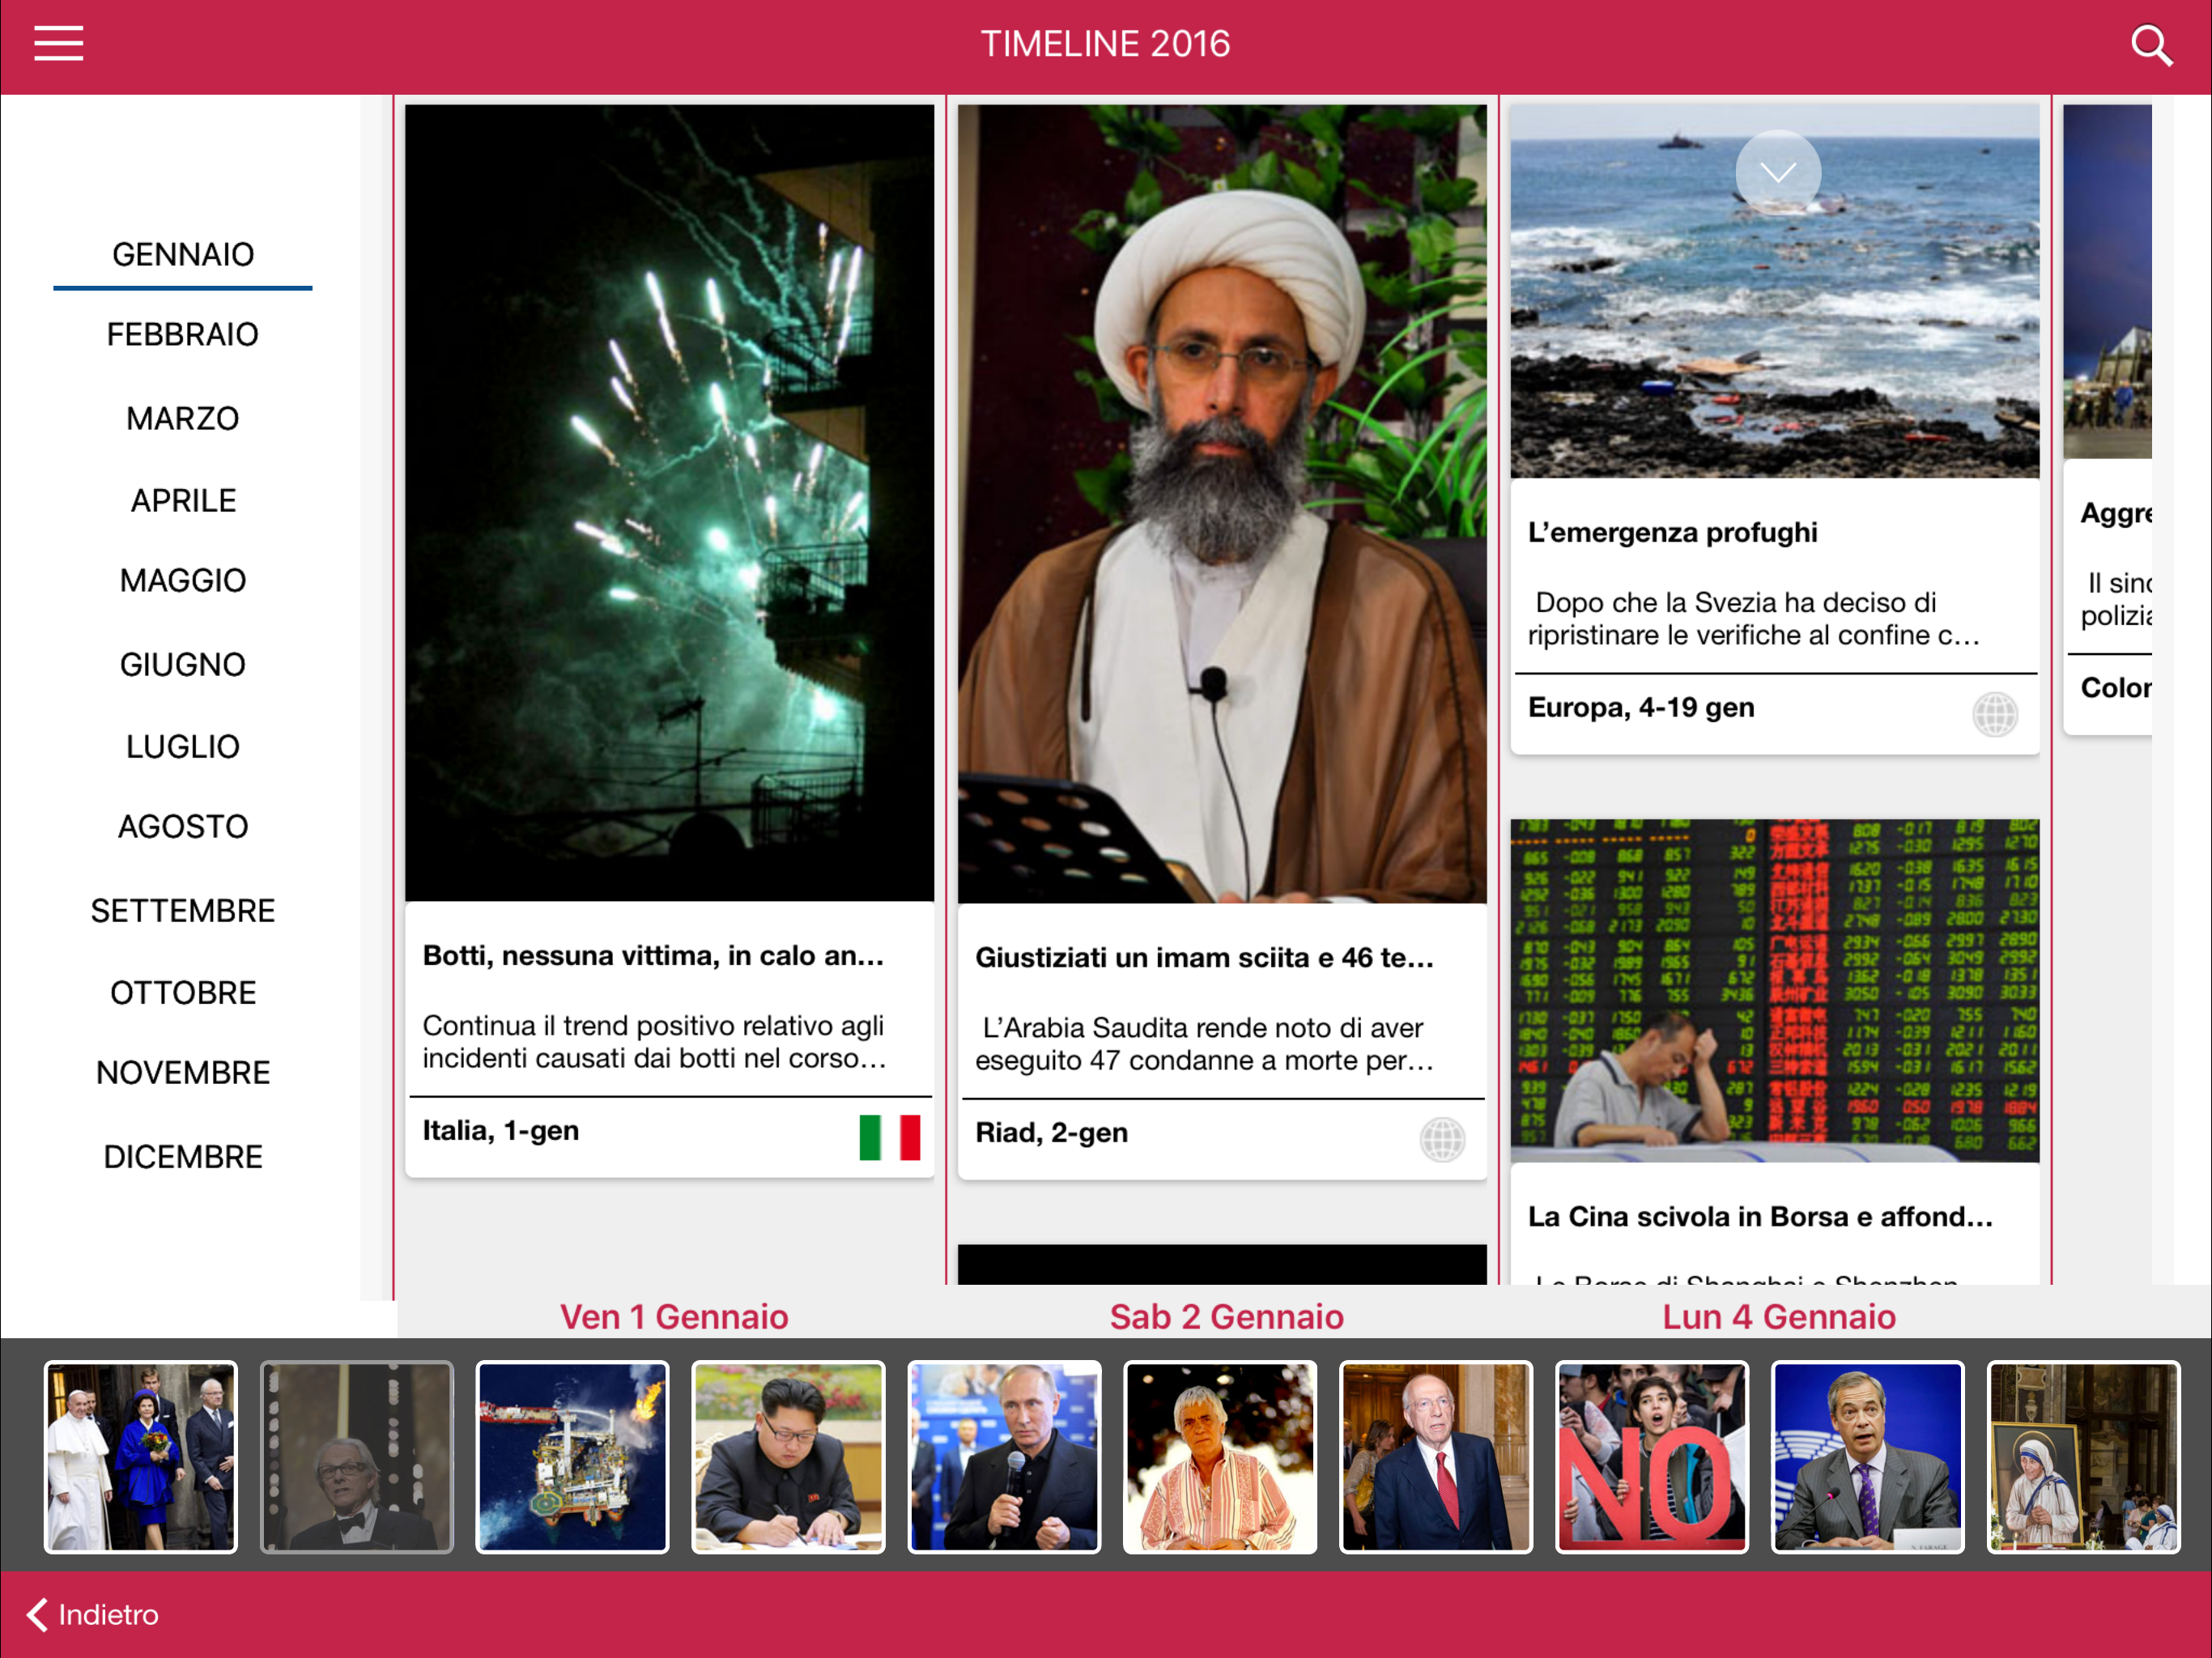
Universal iOS app: Adnkronos: Libro dei fatti 2018
Code: by me
User interface: Made in tomorrow
Client: Made in Tomorrow for Adnkronos
Time: about a week of full dev
Price: free
iTunes Link: (https://itunes.apple.com/us/app/libro-dei-fatti-2018/id535746098?l=it&ls=1&mt=8)

Houdini 16.X: Help 2 Comment – free Python plugin
HoudiniHelp2CommentSuite
A serie of python scripts which manage node(s) comment and add documentation to comment functionality.
AUTHOR:
eng. ANDREA LEGANZA
TESTED VERSION/S:
HOUDINI 16/16.5 Windows/MacOS
DESCRIPTION:
When learning Houdini it may be hard to undestand flow of nodes and to take a sneak peak on the purpose of a single node: a user has to select right click on node -> help and wait for Houdini internal browser to load the help page.
These scripts simplify this operations letting user automatically/manually populate node comment with proper text. Also i developed some functions to autolayout nodes, autotranslate node help description using google and disable auto generation of Geometry file node inside Geometry node.
Link:
https://github.com/Neogene/HoudiniHelp2CommentSuite
RESULTS:

0

INSTALLATION:
- close Houdini
- copy h2c folder inside <$houdini>/scripts/
- Add the content of file AddToOPmenu.xml into <$houdini>/OPMenu.xml, this is required to display menu on RMB. I placed after “Edit Comment” voice, but is up to you.
- optional: copy OnCreated.py inside <$houdini>/scripts/ : this script automatically adds help as comment for every new node
- start Houdini
- create a node (eg: geometry)
- selecte node -> right mouse button -> Help to comment -> select proper menu voice
WARNING:
If your path contains SPACES some scripts don’t work, i filled a bug on 05/19/2018 (declared fixed on r16.5.482), this issue is cross-platform, a temp fix IF YOUR HOME PATH HAS NOT SPACES (otherwise use a folder without spaces in its path) to:
- replace on OPmenu.xml all occurrences $HFS/houdini/scripts/h2c/ with $HOME/scripts/h2c or ($HOME/h2c)
- create the folder in your home folder
- install scripts in that folder.
- close and reopen Houdini.
RIGHT MOUSE BUTTON MENU VOICES ON NODE/S:
- Use help as comment: populate node/selected nodes comment with online documentation headline
- Use help as comment for children: populate node/selected nodes and its/theri children notes comment with online documentation headline
- Display node comment: make node/selected nodes comment visible
- Hide node comment: hides node/selected nodes comment
- Remove node comment: removes node/selected nodes comment
- Display children comments: make children nodes of node/selected nodes comment visible
- Hide children comments: hides children nodes of node/selected nodes comment
- Remove children comments: removes children nodes of node/selected nodes comment
- Translate comment: translates comment using Google Translate service (it may take some seconds when using on multiple nodes)
- “Layout” submenu: these options modify space between nodes to let user avoid comments overlap (if you select a single node and it has children it will lay out its children, otherwise it will layout selected nodes):
- Lay out all increasing space: lay out increasing space between nodes (+0.5)
- Lay out all decreasing space: lay out increasing space between nodes (-0.5)
- Lay out all to x.y: quick layout all to fixed space value
- “Settings” submenu: these options let change auto-tranlsate settings:
- Enable/Disable show help on node selection: load help page when selecting or creating a new node; if a browser tab is not found is added to main window.
- Auto translate new nodes comments: translates online documentation headline comment when creating a new node. NOTE: this options delays node creation depending on your network connection while requesting comment tranlsation to Google.
- Set auto translate language: insert desidered language, eg: en (no translation), it, fr, es, ru etc
- Disable Geometry file node generation: Enable/Disable automatic Geometry file node creation inside Geometry node
NOTE:
- Scripts works when selecting a single node and with multiple nodes
- Some nodes don’t have headline or the whole documentation file.
- Script should work on every OS due to OS path separator code, if fails fix/report please.
- Scripts are separated to make them simpler to study and undertand.
Universal iOS and Android Cardboard app: Wella Torino Tour – WCS VR 360°
Code: by me (Swift / Java / C# / Unity3D)
User interface: HART Studio
Client: Wella
Price: free
Techologies: Cardboard, Unity3D.
iTunes Link: (https://itunes.apple.com/us/app/wcs-vr-360/id1365754990?mt=8&ign-mpt=uo%3D4)
Play Store Link: (https://play.google.com/store/apps/details?id=it.tuvixeddu.app)
![]()
Universal iOS & Android iBeacons apps + TouchScreen: Necropoli di Tuvixeddu
Code: by me (Swift / Java / Actionscript 3)
User interface: Ottomani
Client: Necropoli di Tuvixeddu – Ministero dei Beni Culturali – Comune di Cagliari
Price: free
Techologies: iBeacon, Touchscreen in Adobe Air, iOS and Android App, CardBoard.
iTunes Link: (https://itunes.apple.com/gb/app/tuvixeddu/id1257561008?mt=8)
Play Store Link: (https://play.google.com/store/apps/details?id=it.tuvixeddu.app)


Universal iOS app: Adnkronos: Libro dei fatti 2017
Code: by me
User interface: Made in tomorrow
Client: Made in Tomorrow for Adnkronos
Time: about a week of full dev
Price: free
iTunes Link: (http://itunes.apple.com/it/app/libro-dei-fatti/id535746098?mt=8)


Corso universitario di Strumenti e Tecniche di Game Development 2 – Vigamus / Link Campus University
Secondo corso tenuto al terzo anno del corso di laurea presso la Link Campus University:
Argomenti principali trattati:
- Unity vs Unreal
- LightMapping
- Occlusion culling
- Bug/Glitch
- Gerarchia delle memorie (RAM, HD, etc)
- Multi core / Multi processor
- 32 & 64 bit
- GPU / GPGPU / CUDA / OPENCL
- Vulkan
- From hi-poly to low-poly, retopology
- FPS & performance
- Single/Double/Triple buffering
- Motori fisici: Physx, Havok, Bullet, ODE
- Ottimizzazione dei colliders
- Intelligenza artificiale, agenti, macchine a stati finiti
- Navigation & pathfinding
- Internet, web & intranet
- Protocolli di comunicazione, TCP/ UDP
- Multiplayer e gestione del traffico
- Sicurezza/Pirateria del sw e delle reti
Netfix: ode to in-security in 2017
I was studying how Netfix website works developing a script to reset the password automatically without the need to login and follow the different links simulating a web navigation session, in the meantime i discovered that on 2017 there are still companies like them which let users register using minimum password length 4 characters without any requirements regarding numbers/uppercase/special characters.
There isn’t a captcha to prevent multiple retries so: hello automatic scripts!
This may lead hackers to the stealing of hundreds/thousands accounts passwords using brute force attacks simply using emails lists grabbed from the web.
1234 is still on the top 10 of most common passwords so Neftix why help hackers to guess them?
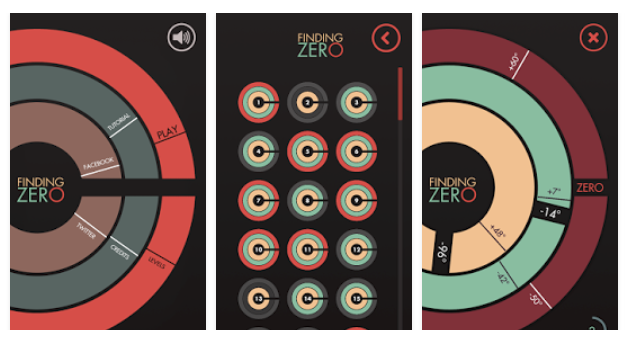
Universal iOS and Android app: Finding Zero

Description: a “simple” puzzle game, your task is to rotate clockwise/anticlockwise three rings to reach zero value with all of them.
Code: by me, C#
Platform: Unity3D
User interface: Simone Roca
Music: Simone Sciumbata
Time: about two weeks of full dev
Price: free
iTunes Link: (View in App Store)
Play Store Link: (View in Play Store)
Corso universitario di Strumenti e Tecniche di Game Development – Vigamus / Link Campus University

E’ con estremo piacere che ho appena terminato di tenere il corso di “Strumenti e Tecniche di Game Development” presso l’università privata Vigamus – Link Campus University, il corso, che ho rimodulato completamente rispetto a quello dell’anno precedente, è stato suddiviso il tre aree tematiche:
- Flussi di lavoro, costi, tecnologie e tools;
- Fondamenti di programmazione in C#;
- Fondamenti di Unity3D;
L’approccio è stato completamente diverso dall’iter formativo presentato negli anni precedenti, completamente focalizzato sul progettuale invece che sul teorico e progettuale; nella mia visione ho preferito approcciare diversi argomenti invece che focalizzarmi su un solo filone didattico, allo scopo di non penalizzare quegli studenti meno avvezzi ai concetti di programmazione; sarebbe stato altamente improduttivo realizzare un corso solo su Unity considerando che gli studenti nel 98% dei casi non hanno alcun fondamento di programmazione. Chiaramente la parte di realizzazione in Unity è stata ridimensionata, ma hanno trovato spazio argomenti come le coroutine, nozioni di ottimizzazione di modellazione, texturing, componenti, update, awake, fixedupdate, lerp, serializefield, fisica, collisions etc, nozioni sufficienti per poter iniziare a realizzare un progetto minimale. Durante il corso ho proposto esercizi sui diagrammi di flusso allo scopo di favorire l’operazione di semplificazione e strutturazione delle soluzioni di diversi problemi, successivamente sono state presentate tre tranches di esercizi di fondamenti di programmazione (variabili,if, while, for, array, liste, etc) e infine è richiesto un progetto unity per poter effettuare l’esame finale.
Il tutto è stato condiviso attraverso circa 3.000 (tremila) slides create appositamente per questo corso tutte spiegate a lezione per non lasciare alcun concetto “interpretabile”.
IO Programmo 203: Introduzione a Phaser

In questo numero un articolo dedicato introduttivo a Phaser, libreria Javascript nata per lo sviluppo di giochi.
Un secondo articolo è già stato consegnato e tratterà della realizzazione di un clone di Flappy Birds.
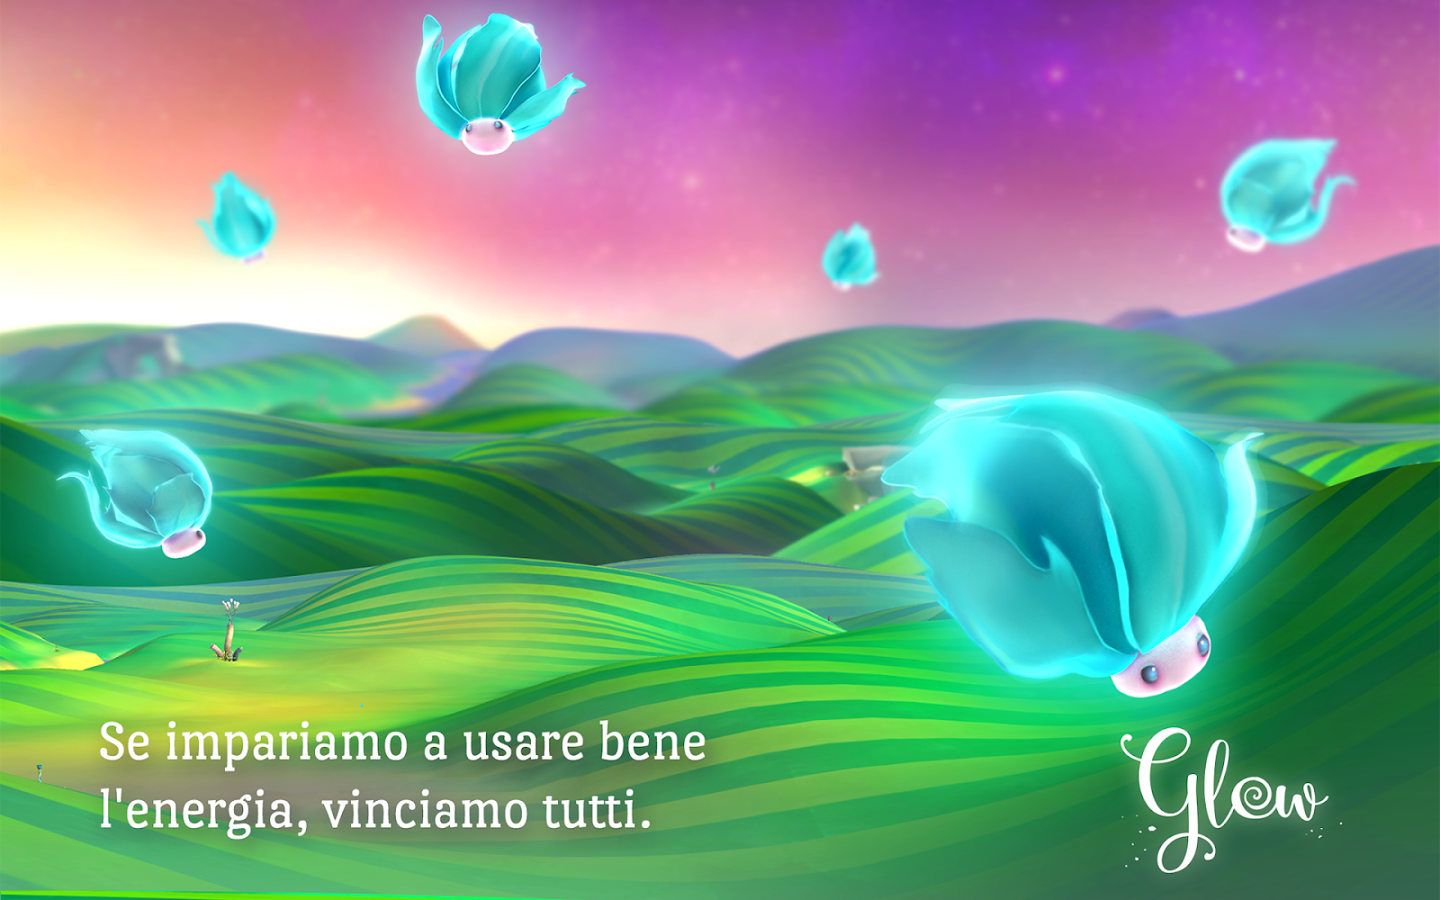
Universal iOS and Android app: Enel GLOW
Code: by me, C#
Platform: Unity3D
User interface: 101%
3D: 101%
Client: Enel SpA
Time: about a month of full dev
Price: free
iTunes Link: (View in App Store)
Play Store Link: (View in Play Store)


Dixan: La mia scelta

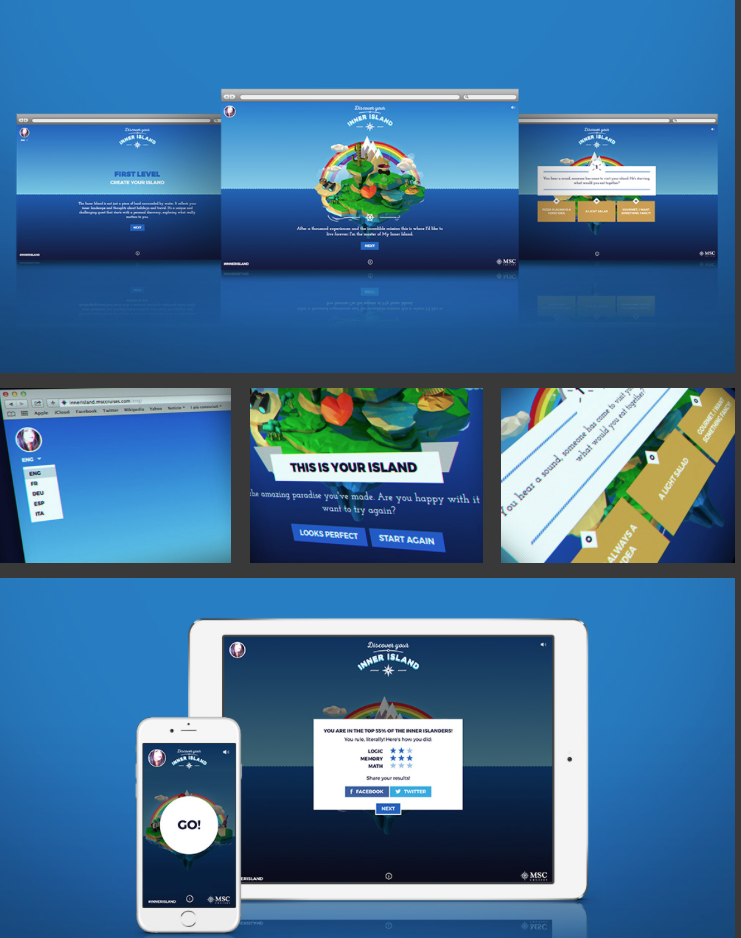
MSC Cruises/Crociere : Inner Island project


Kinder Ferrero: Microsoft Surface 3 and Windows 8.1 app

Code: by me (AS3 on Adobe Flash)
User interface: 101D
Client: 101D – Dude Srl
Time: Less than a week of work
How it works: “simply” animated memory game clone;
Price: n/a
iTunes Link: n/a